The Defcon 32 badge was a spectacular accomplishment using the unrelease Raspberri Pi 2350 chip to include a Game Boy emulator and a custom homebrew style Defcon experience game. At 28,000 produced, there’s a LOT of them out there and a ton of mods and hacks still to come. The FREE WILI team has for example released a custom ROM giving those badge owners a taste of their hardware product with a very functional subset of full FREE WILI hardware.
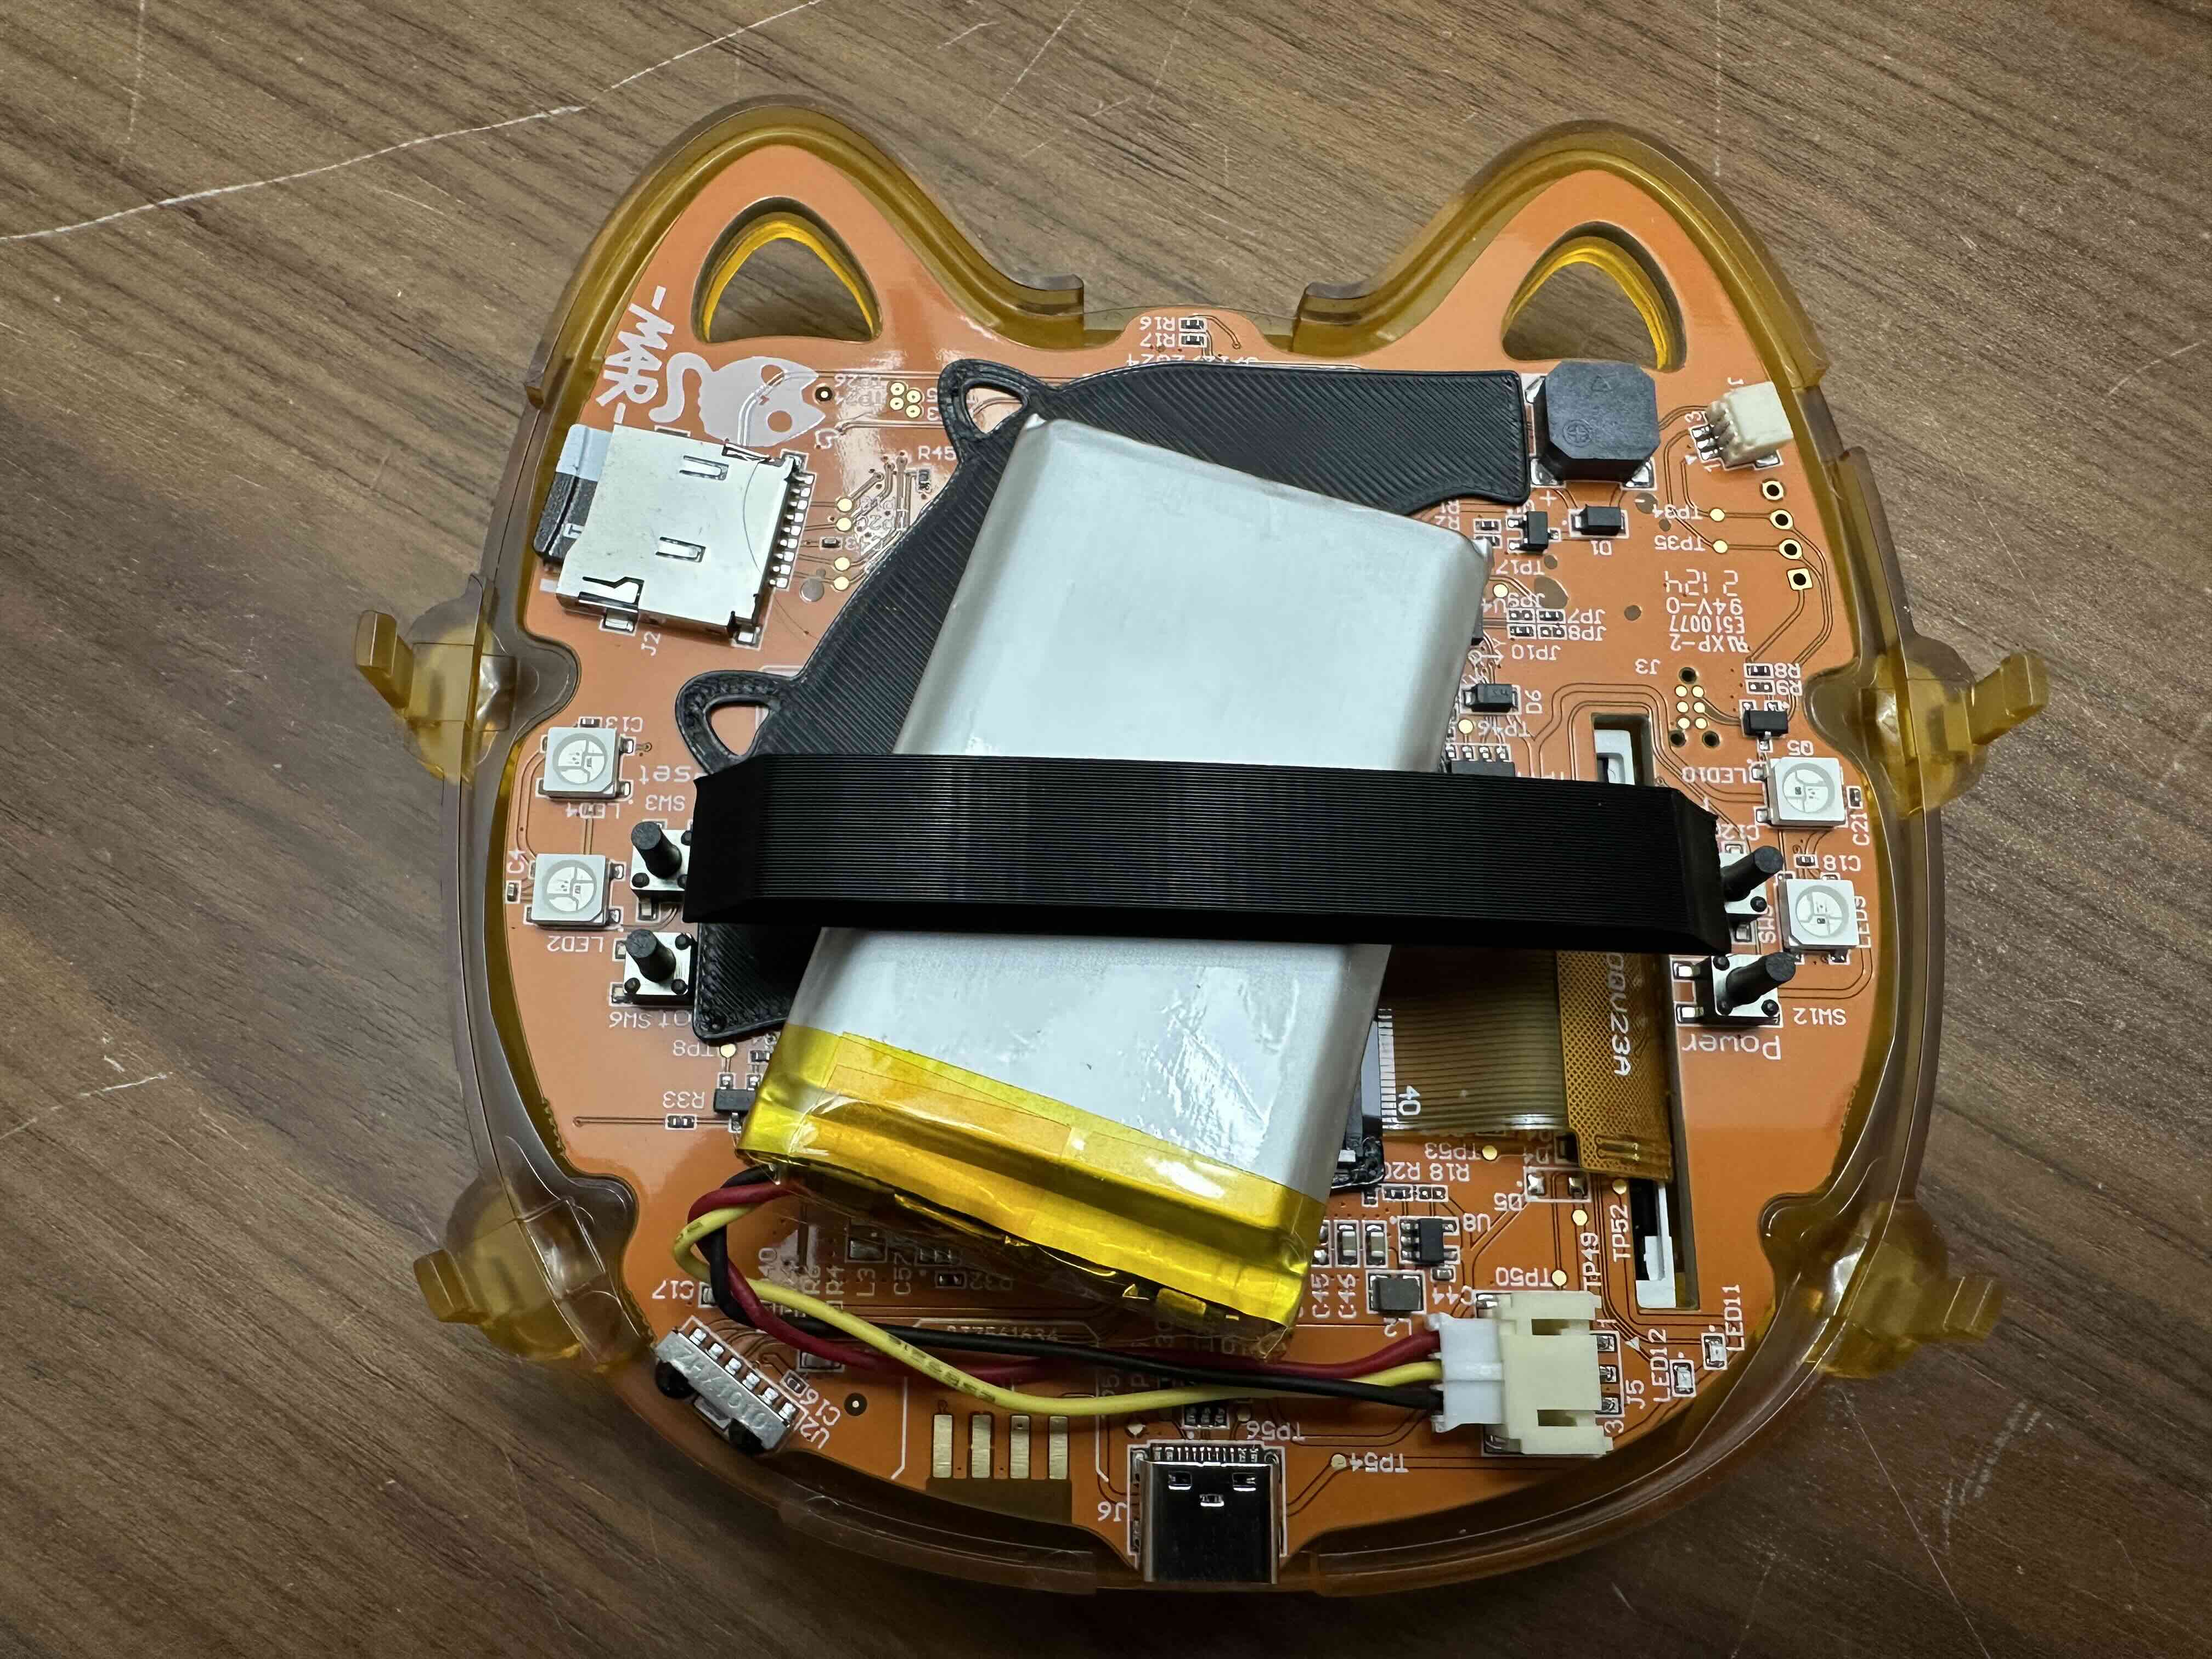
One issue some have noted is the lack of battery mounting which allows it to slide around and rub against the board components, potentially puncturing the battery at some point. Some have leaked but that’s probably more a manufacturing thing.
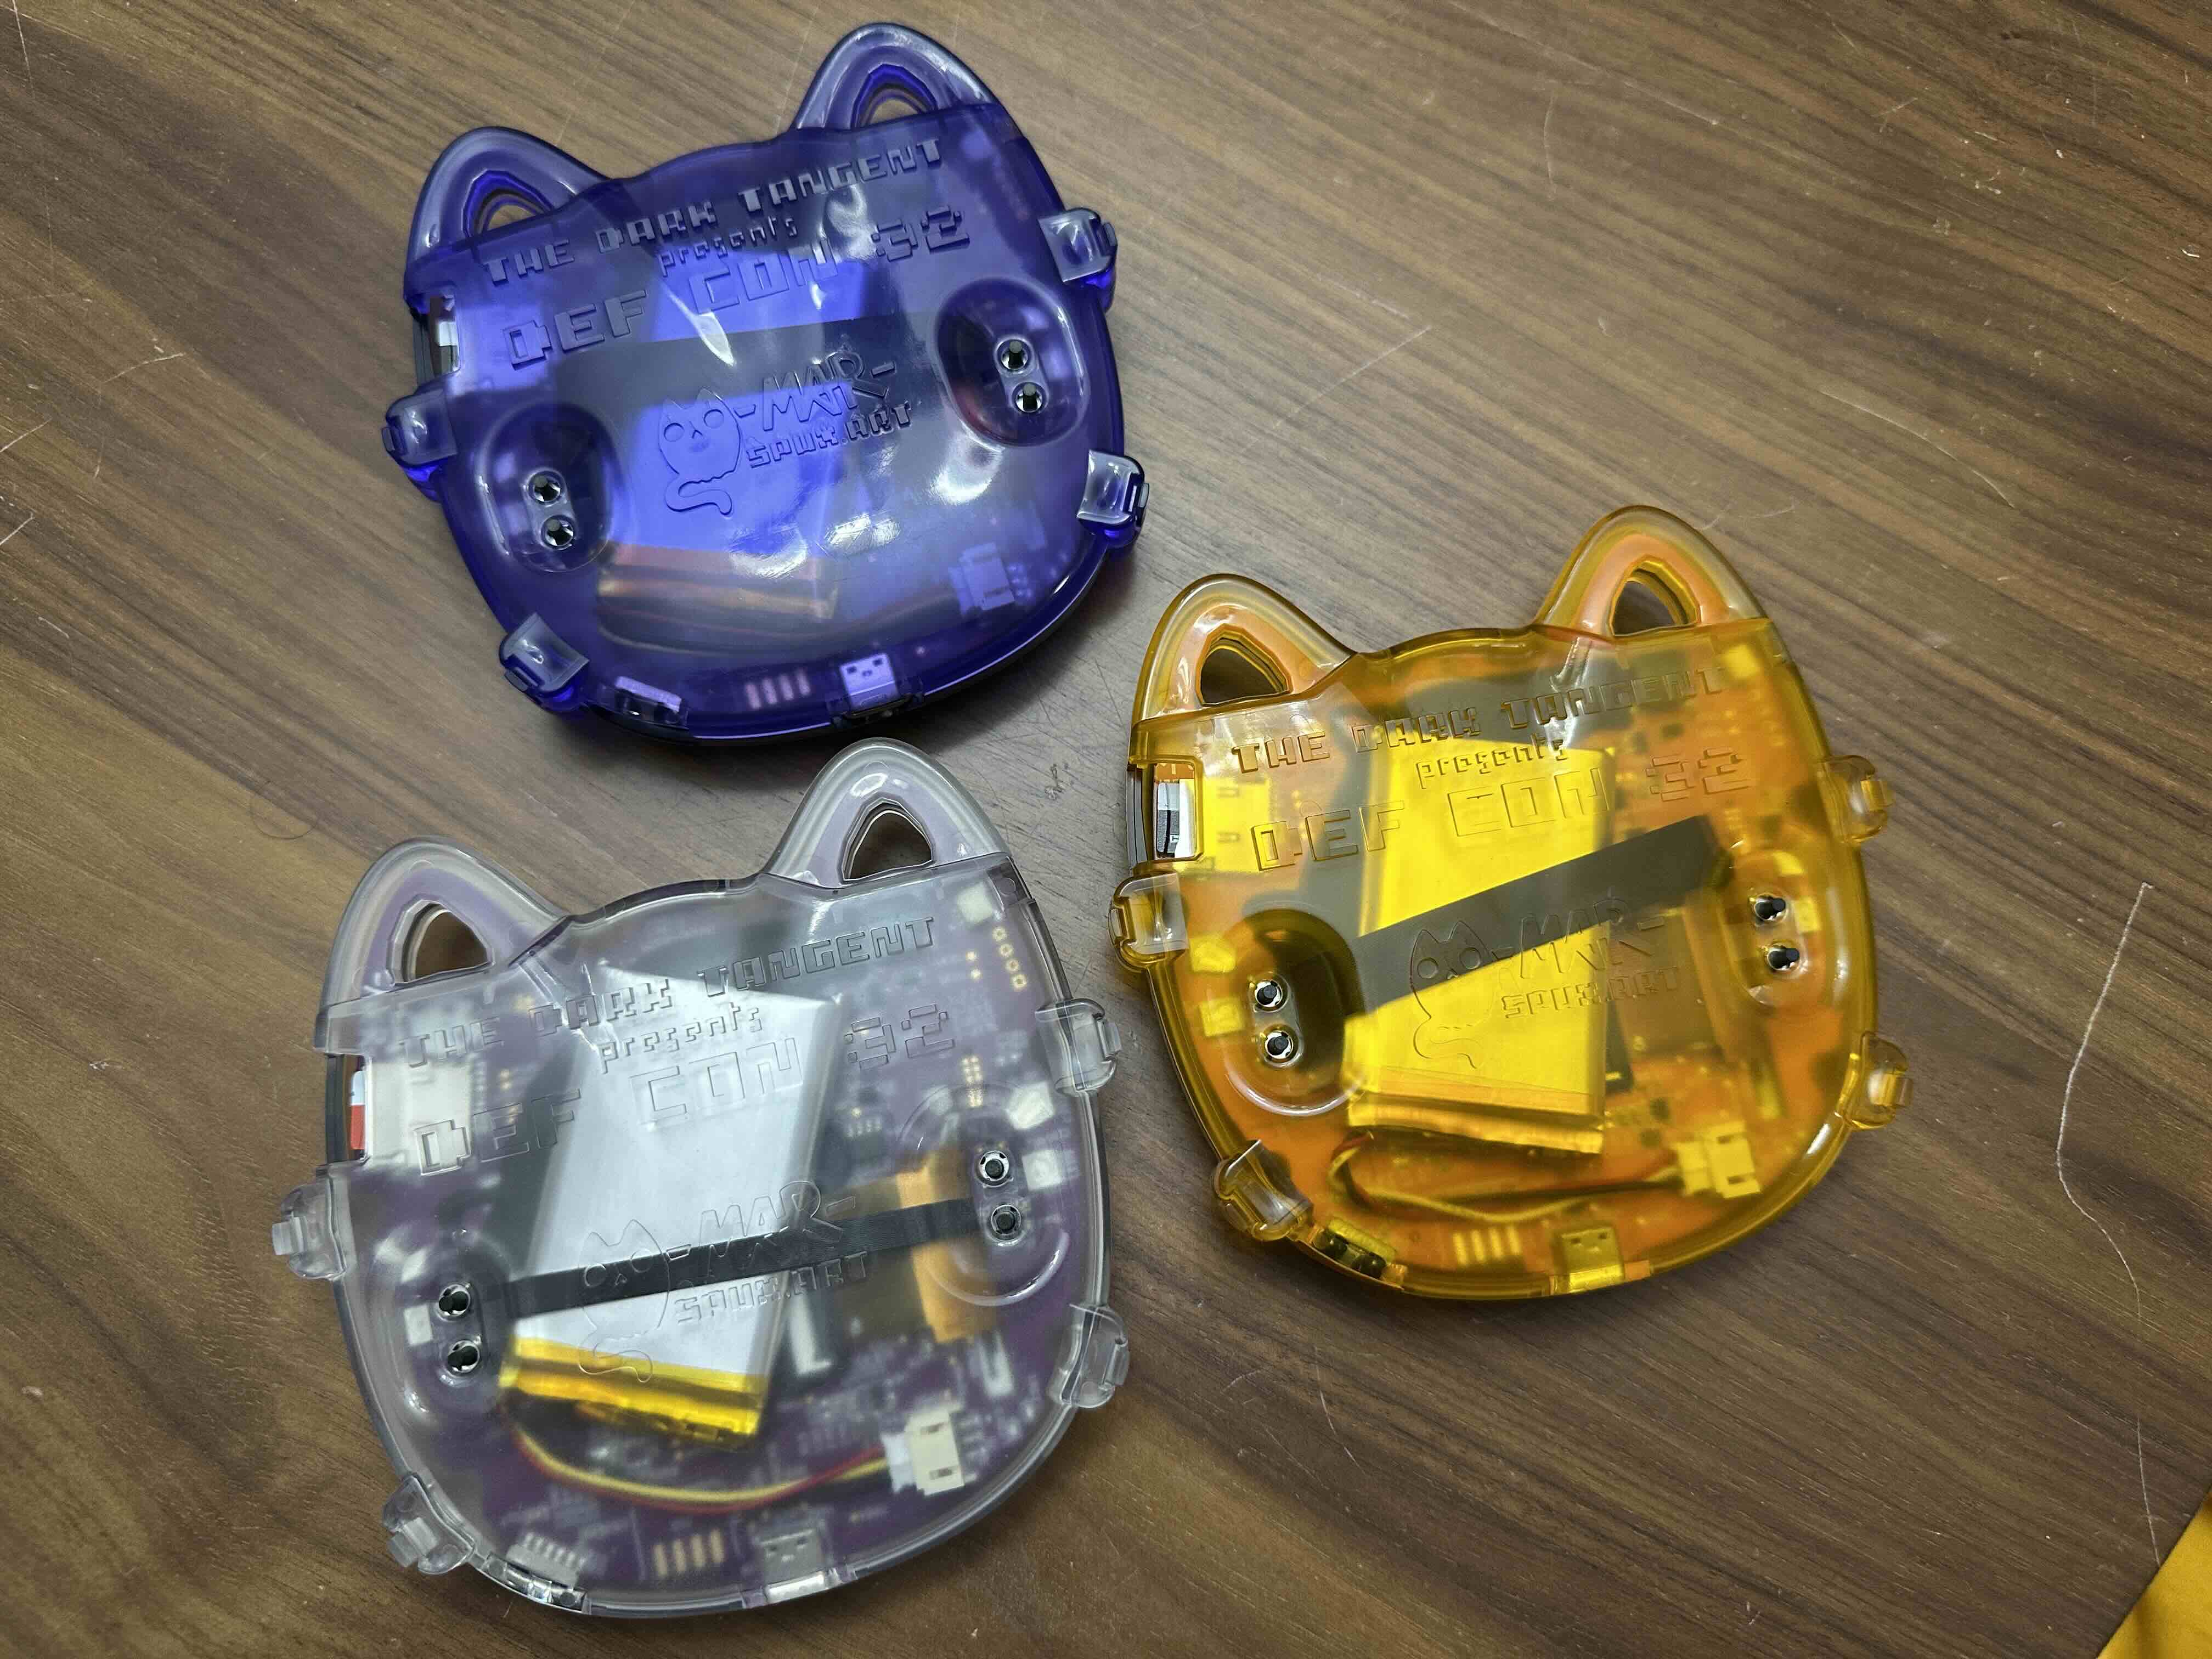
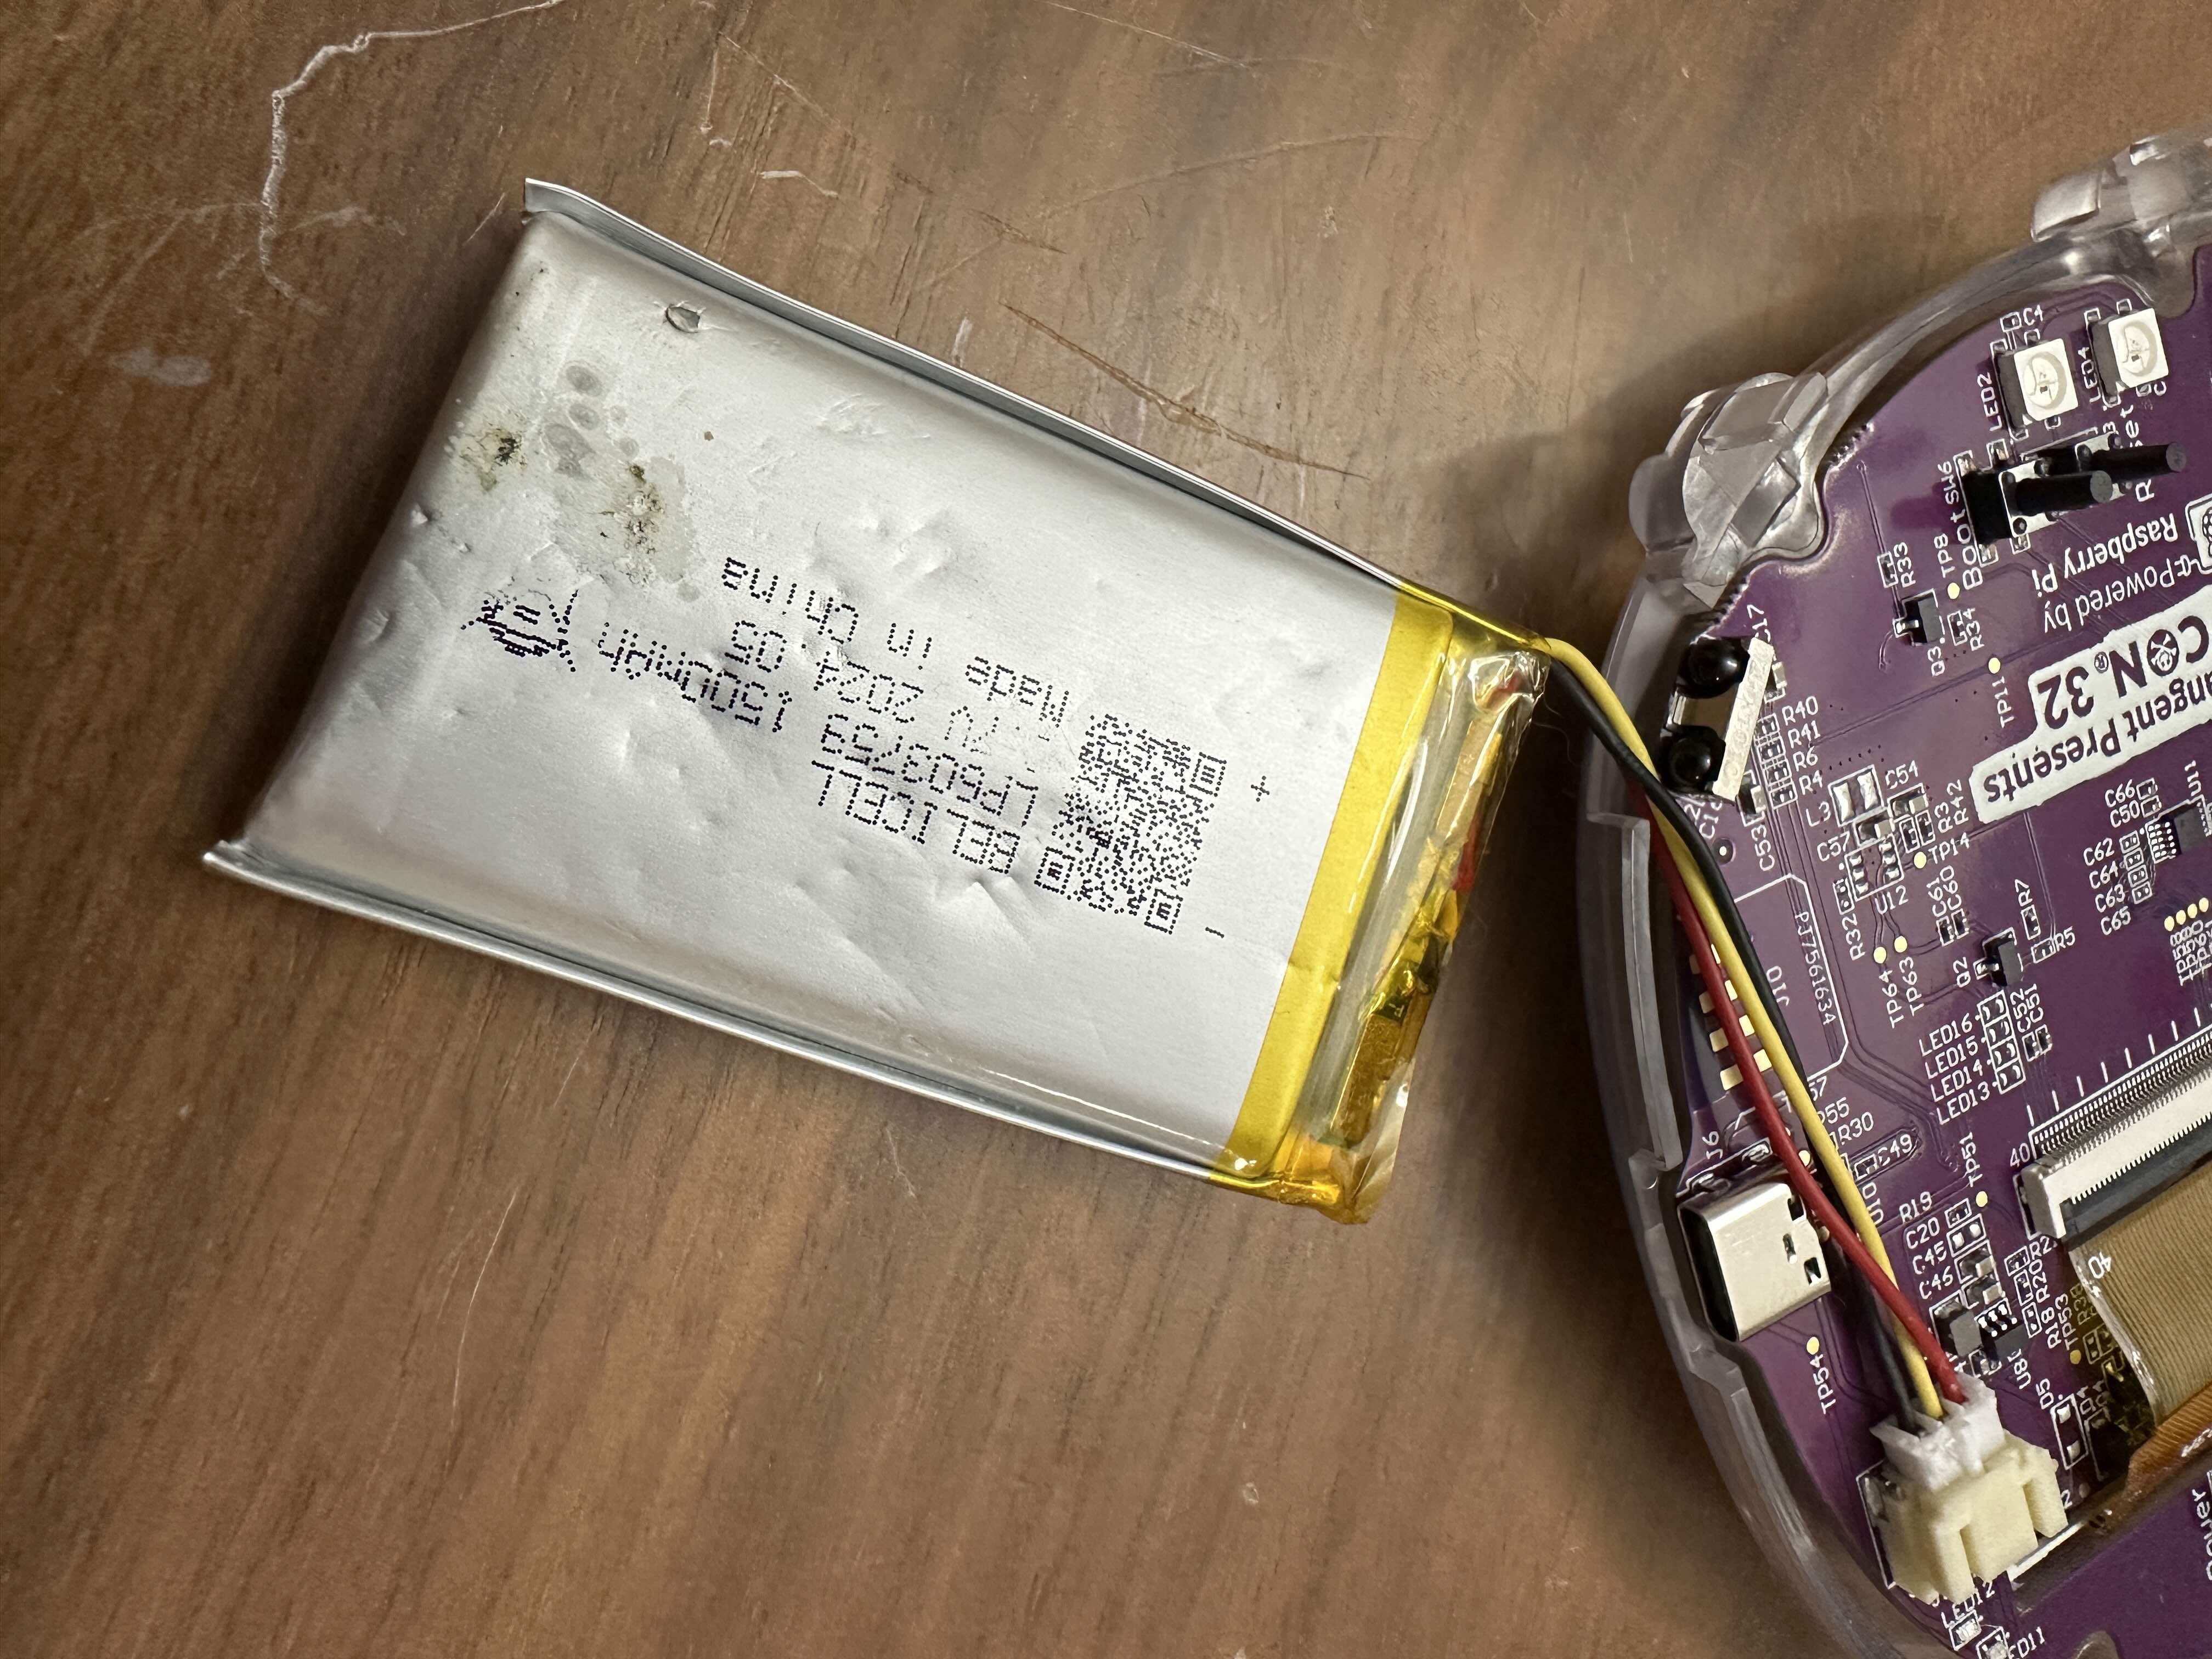 Note: After talking with some badge collectors, the goopy smudge you see on the bottom of my battery is due to some leftover solder flux on the board. A small number of boards didn’t get fully cleaned off in production and leftover paste has caused some corrosion on those boards. Indeed I spotted a bit of rot around my test pins 37, 38 and that general area which I’ve since cleaned off with Isopropyl Alchohol. Read up on solder flux corrosion if you haven’t heard, and don’t leave sloppy boards after soldering some project.
Here’s the process by which I came up with something serviceable that works with a range of battery thicknesses.
First off I printed a contour gauge set and measured the curve between the buttons on the front of the badge. I thought I would be able to make a sort of hot pocket container, or a McDonald’s “Apple Pie” sleeve 🤤. That turned out not to work, but the contour measurement ended up being useful.
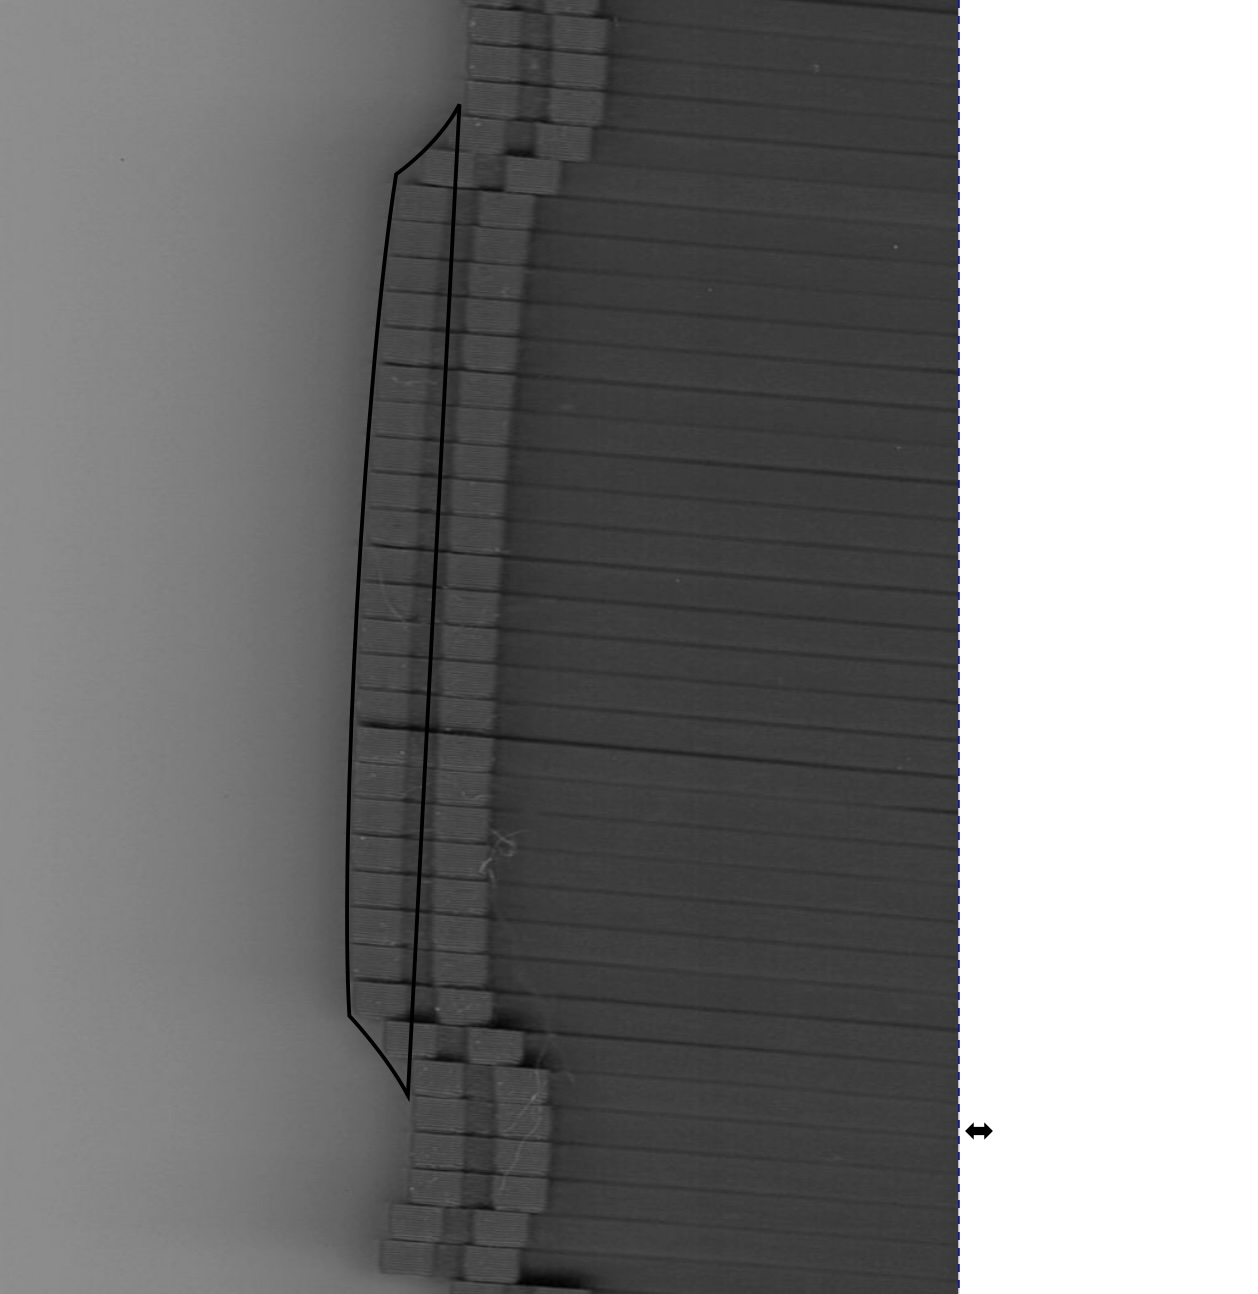 (Yes I scanned in greyscale to save a few bytes on needless detail and randomly use single letter variable names due to C development causing irrational resource wasting fears. This manifests at random like a true PTSD while driving, sleeping or taking a bath. I’ll suddenly have a panic attack and realize I could’ve sorted an array in place instead of duplicating it saving literally KILOBYTES of RAM. That’s right, my friends…. C induced trauma)
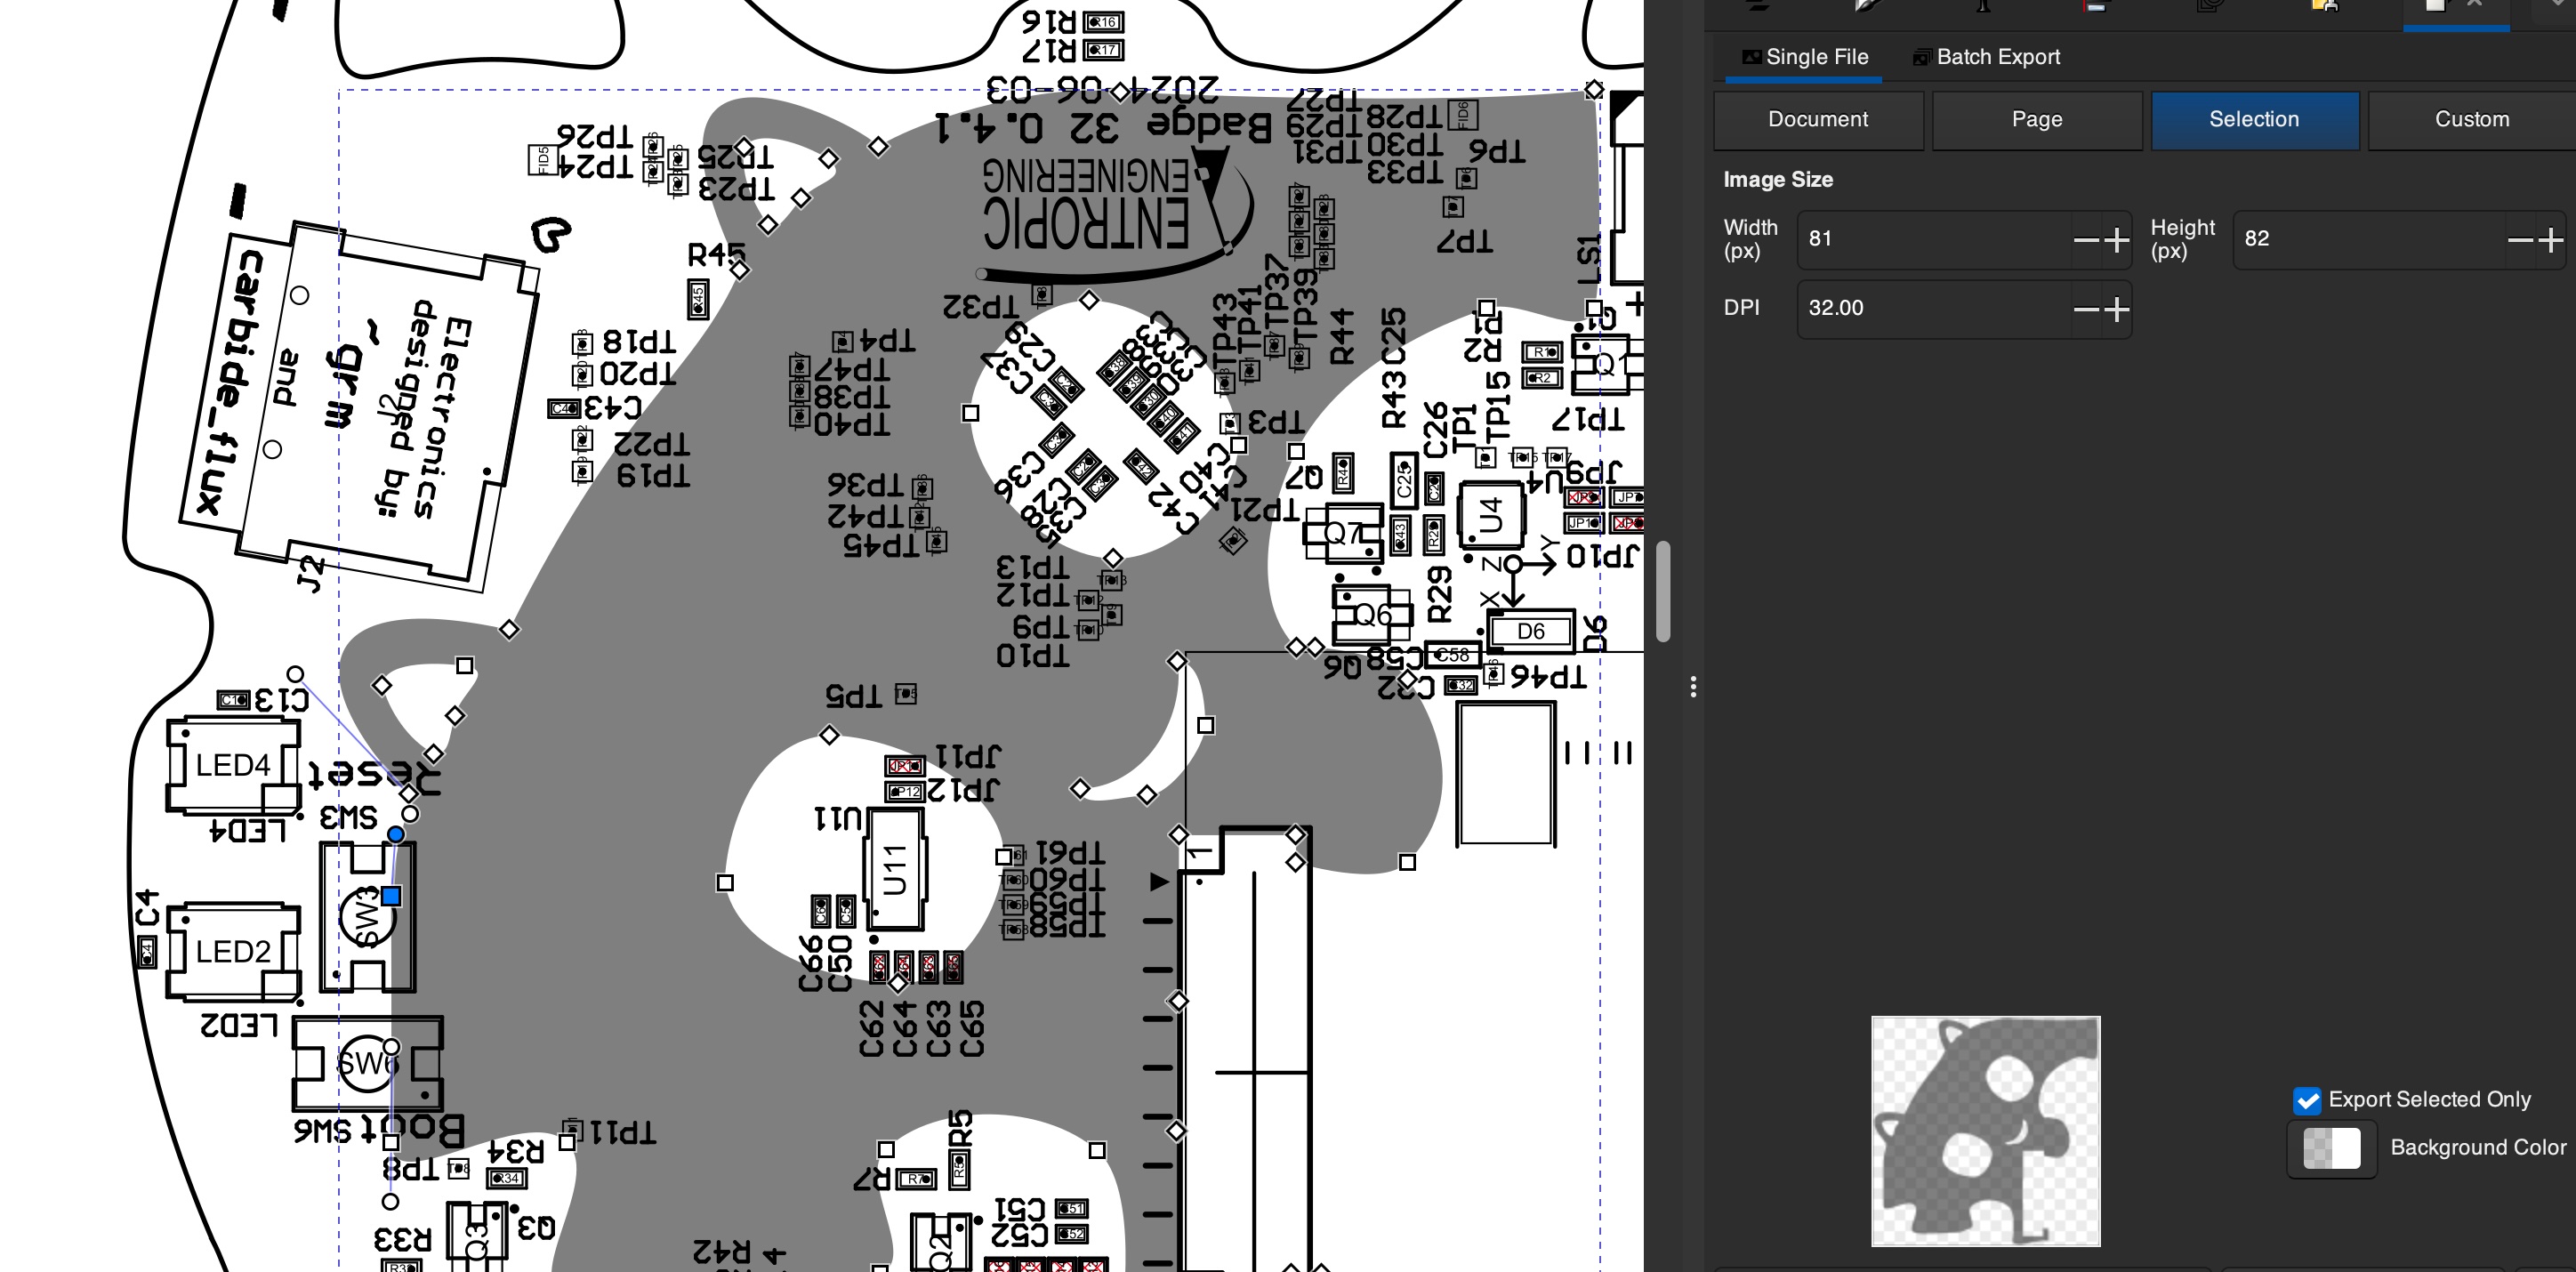
I then grabbed the board schematic at the Defcon media server and downscaled it 2:1.
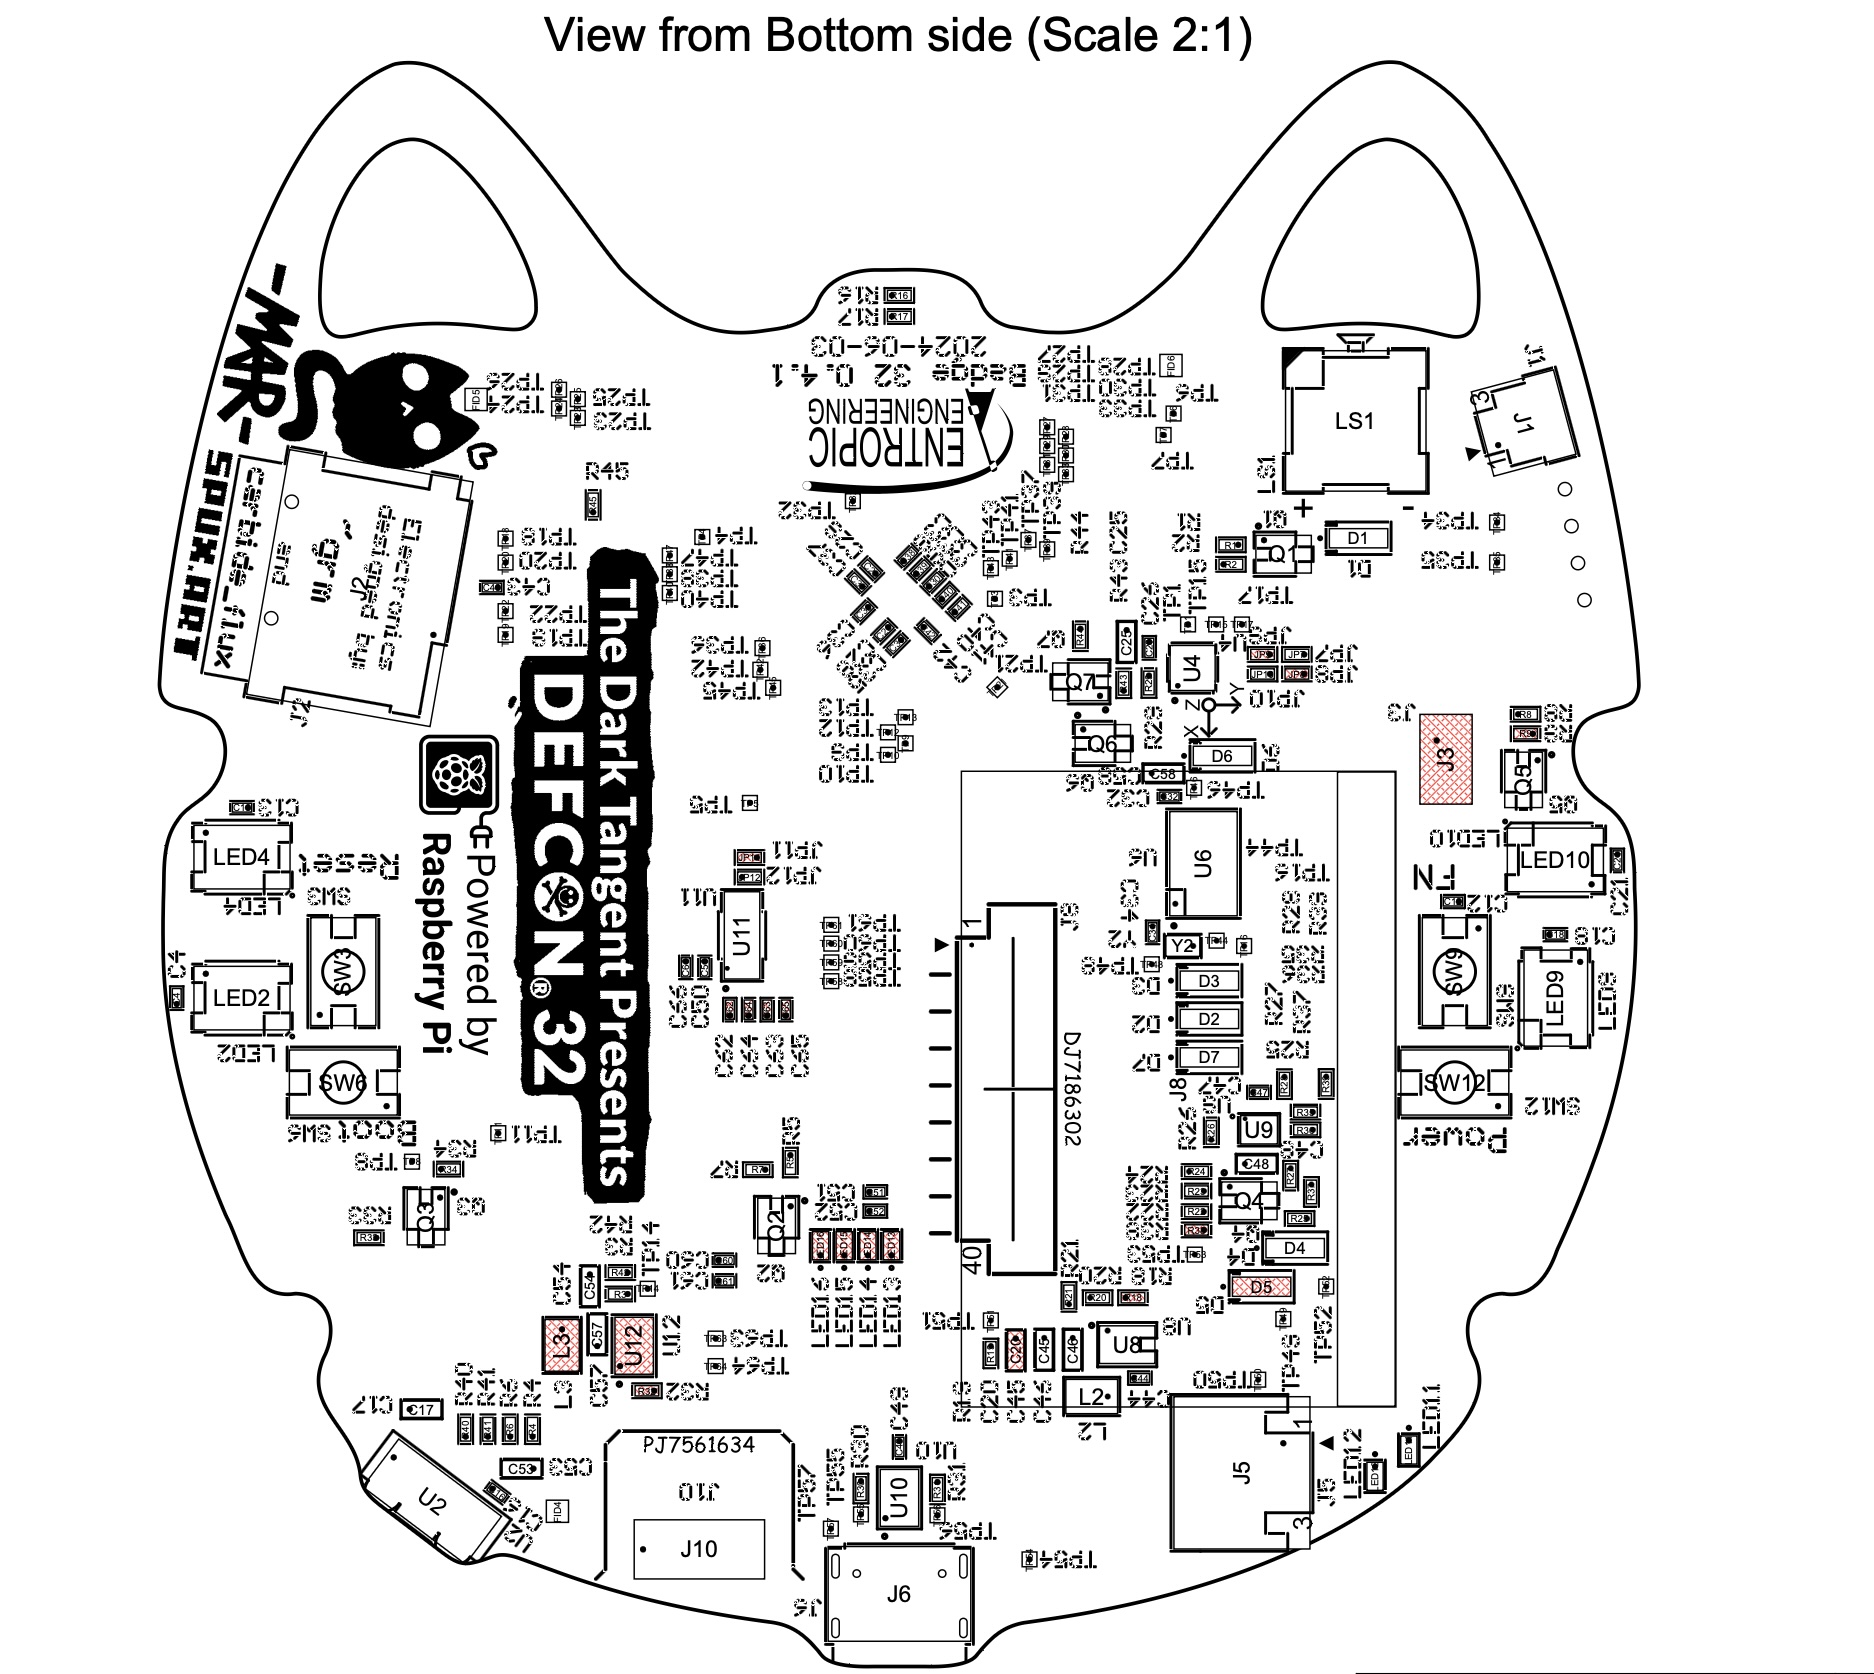
In Inkscape I started with rectangle shapes to add some backing and lift the board and reduce pressure on the components. Using straight edges and 90º angles I left openings where anything was soldered to the board and gradually filled in the space with a shape that would fit tight and not rock back and forth over any components.
After filling it in pretty good I noticed two of the holes I’d left vaguely resembled eyes, and decided I might as well curve it up a bit since Mar would probably use curves instead. At that point I figured…. why not go full cat? 😻 Here’s the design progression.
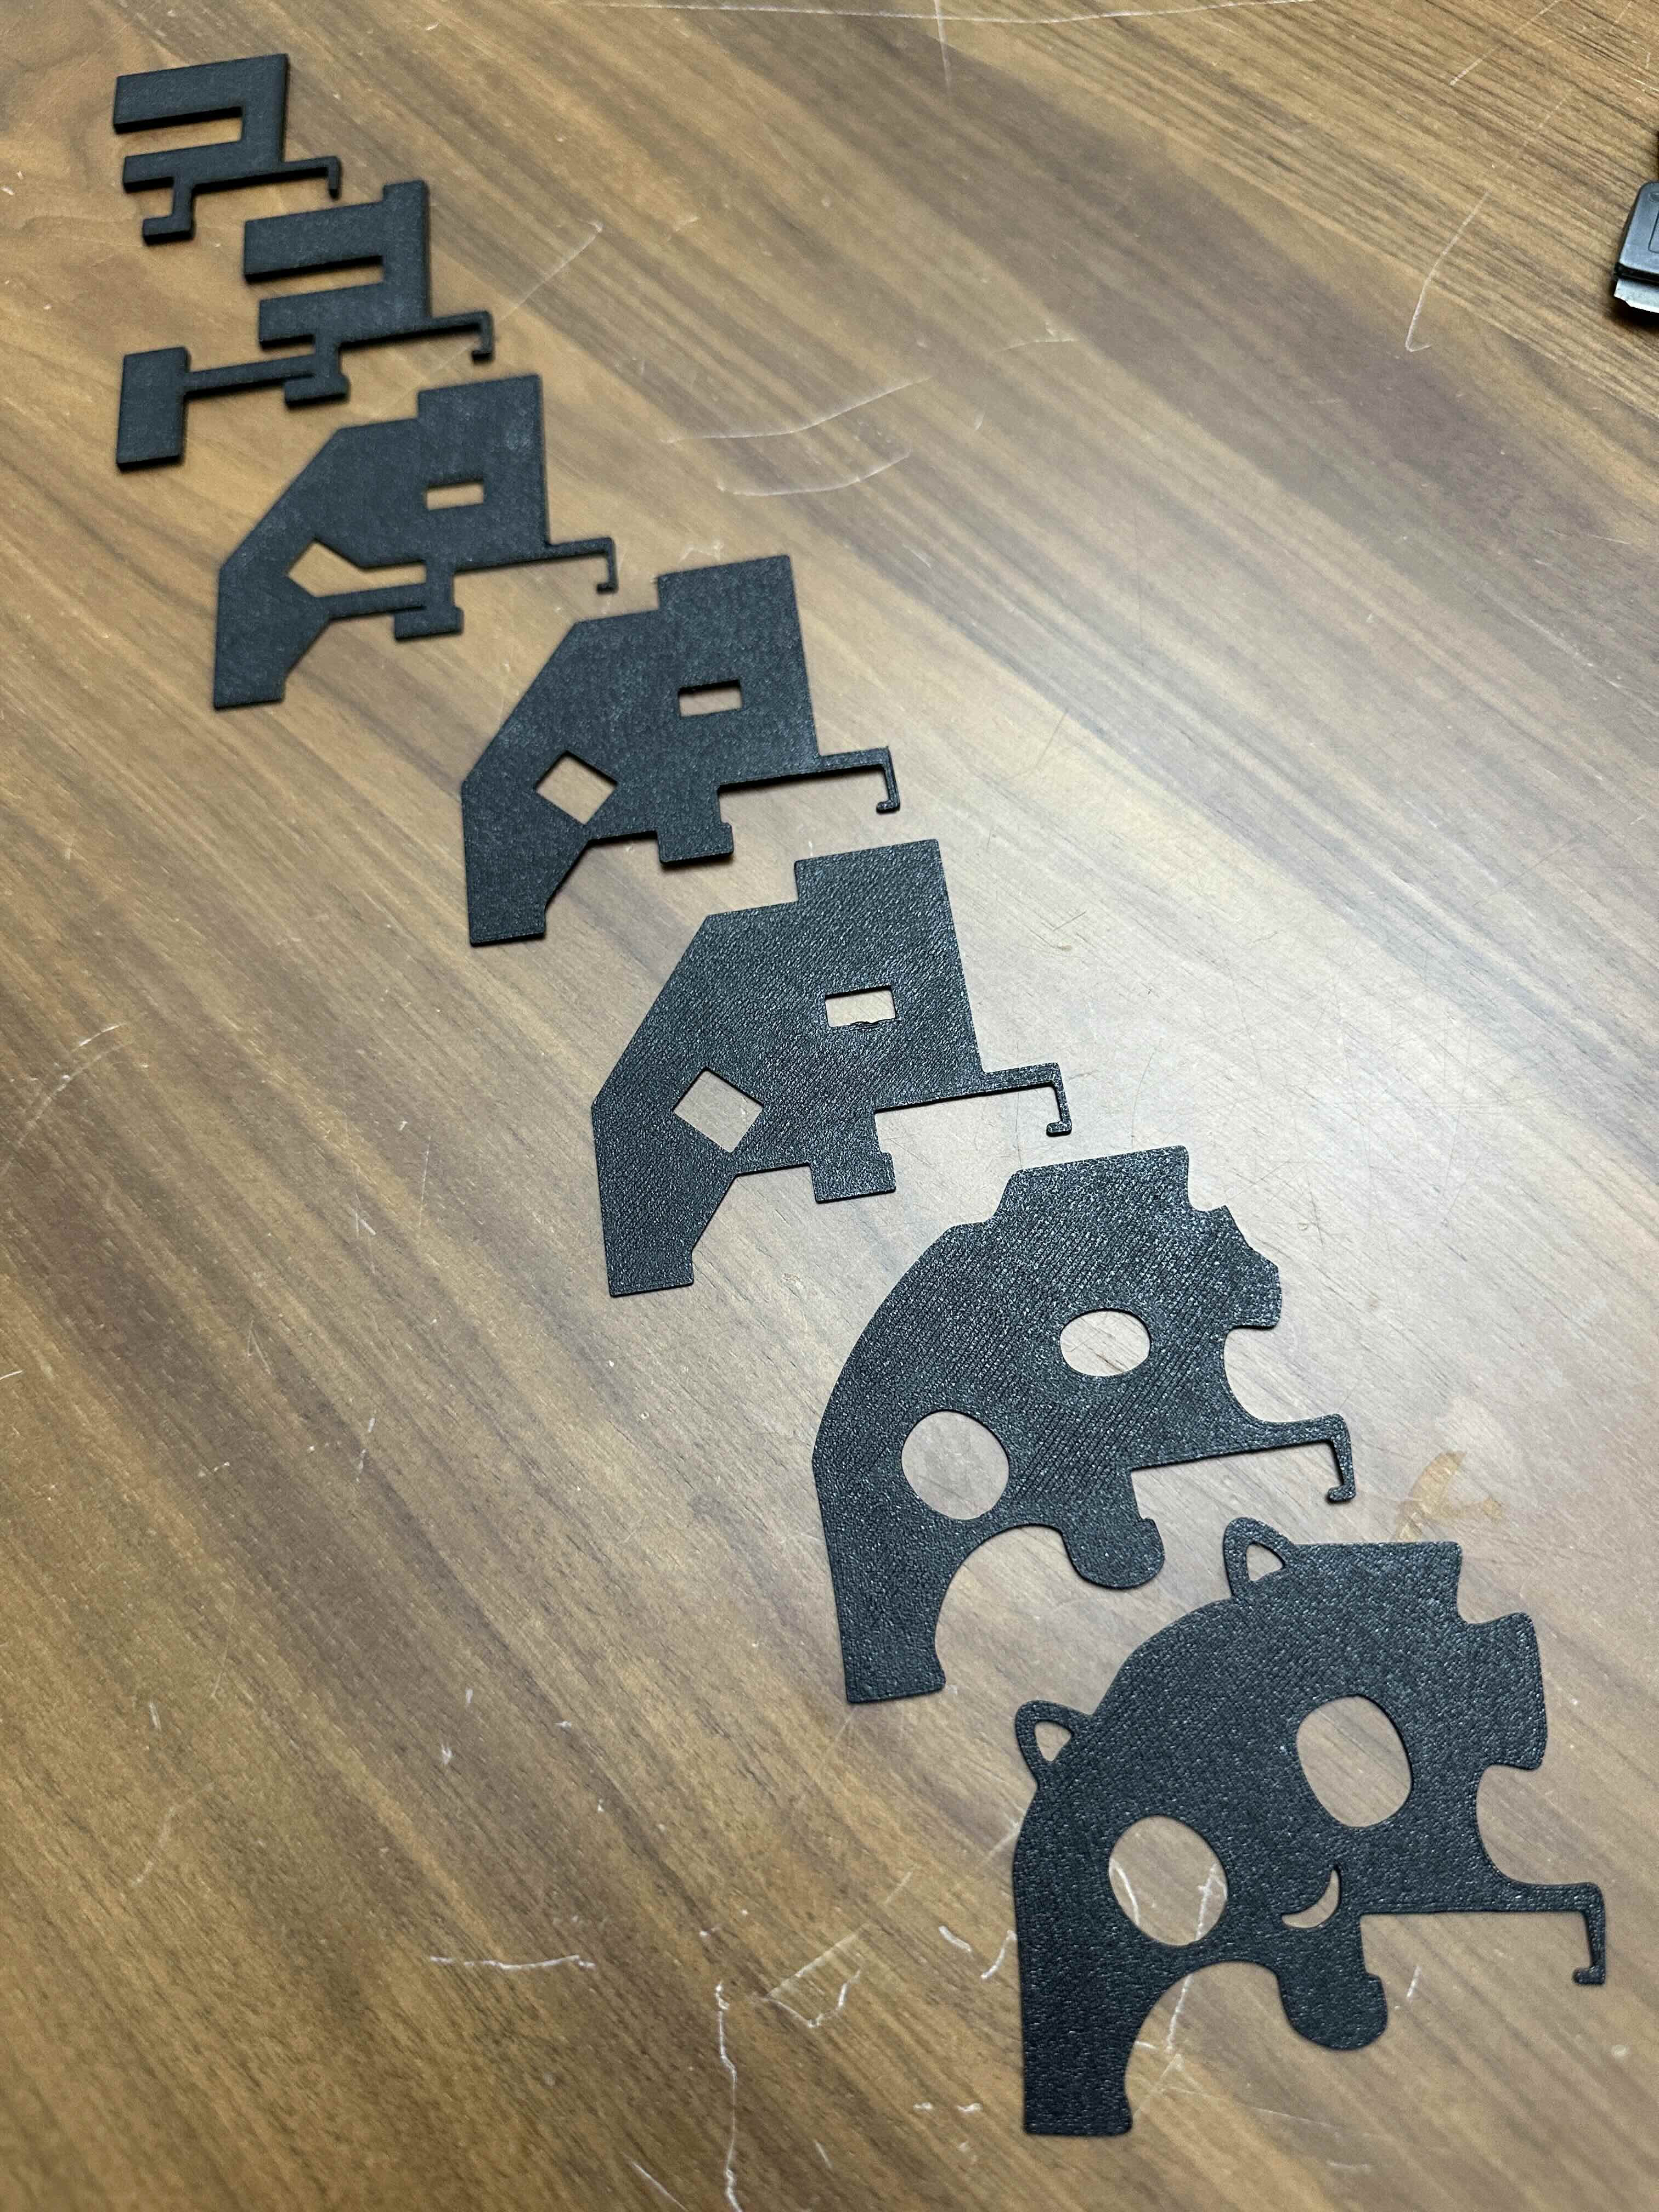
Using the schematic made this super easy, and exporting the selection alone to an SVG file made 3D printing a breeze.
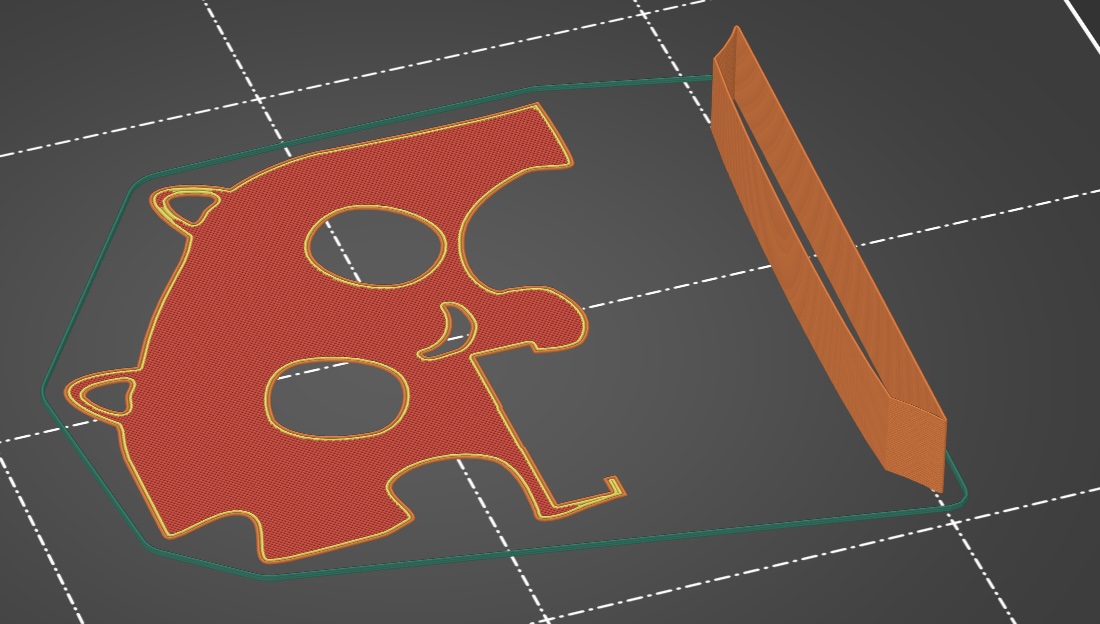
So it turned out using the contour ended up useful after all. Due to battery thickness variation the best approach to have a snug battery without putting stress on it is to print the battery riser at 0.5mm thickness. This is just right to lift it above everything except the ribbon connector. A thin battery will still slide around so use a single wall contoured top shape as a soft resistive gap filler. They can print together like so:
You’ll want to gently rest the squishy part roughly between the buttons if your battery is thin and it’s still loose. BTW if you haven’t opened your badge before, be very gentle. You don’t need a screwdriver or a spudger or anything, just pinch top/bottom with one hand from the hole between the ears to the USB opening in the shell. While you’re applying a light upward pressure just very lightly press down and outward on one latch with the other hand thumb until you feel a slight movement. Then move to the other latch on the same side and repeat. After 2 or 3 light clicks it’ll just come right open. Just don’t snap them off. 😿
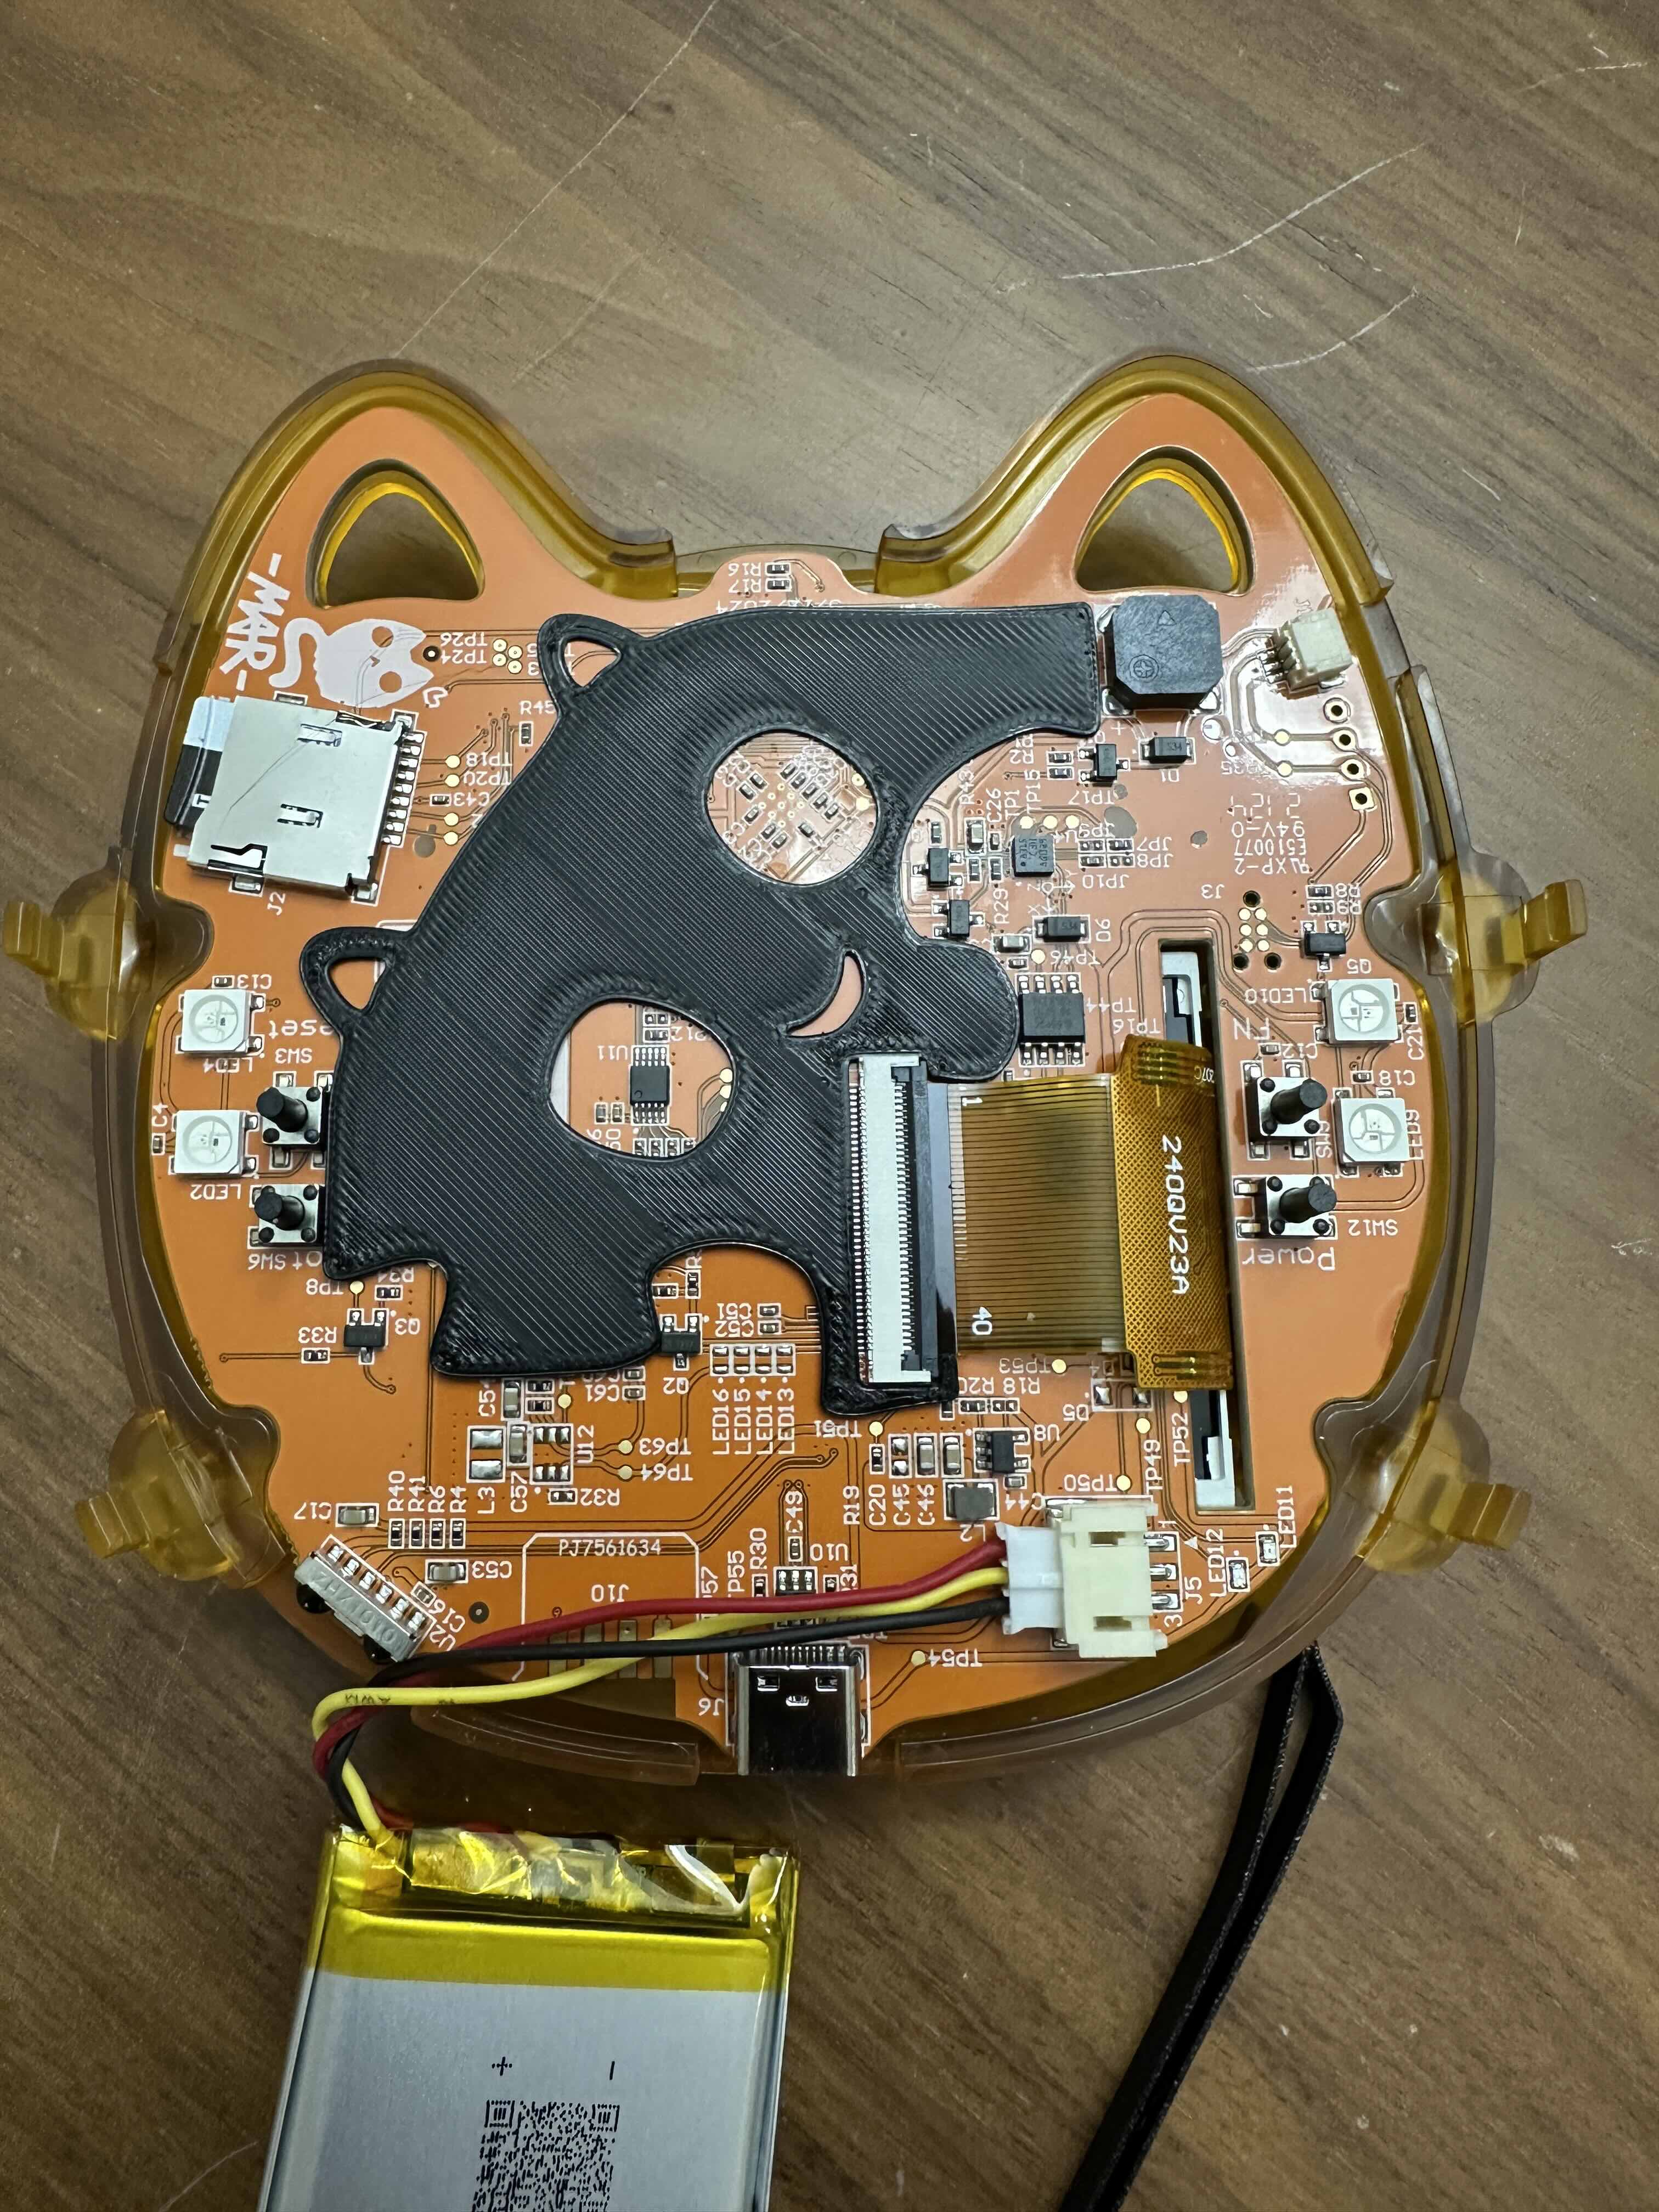 Awwwww it’s smiling at me!
Print that part as wide as you need or like. 5mm works fine, or 10mm, whatever. It’s only 1 wall thick so plenty soft.
So for printing the backer I’d say go with 0.5mm and .25mm layer height, or if your battery is really thin bump it up to 0.6mm with 0.2mm layer height and use the squishy. You want to make sure it’s not putting pressure on the battery and that it’s closing fully along all the edges, especially check that the ears are closing all the way. There’s a little bit of a low spot between the ears at the top so try to keep your battery a bit low you can kind of see the sweet spot in my pics.
Hoping to extend the life of some badges and avoid any punctured batteries!
If it’s tight with just the riser and doesn’t wanna close all the way it’s time to get rid of the “spicy pillow” and grab a new one.